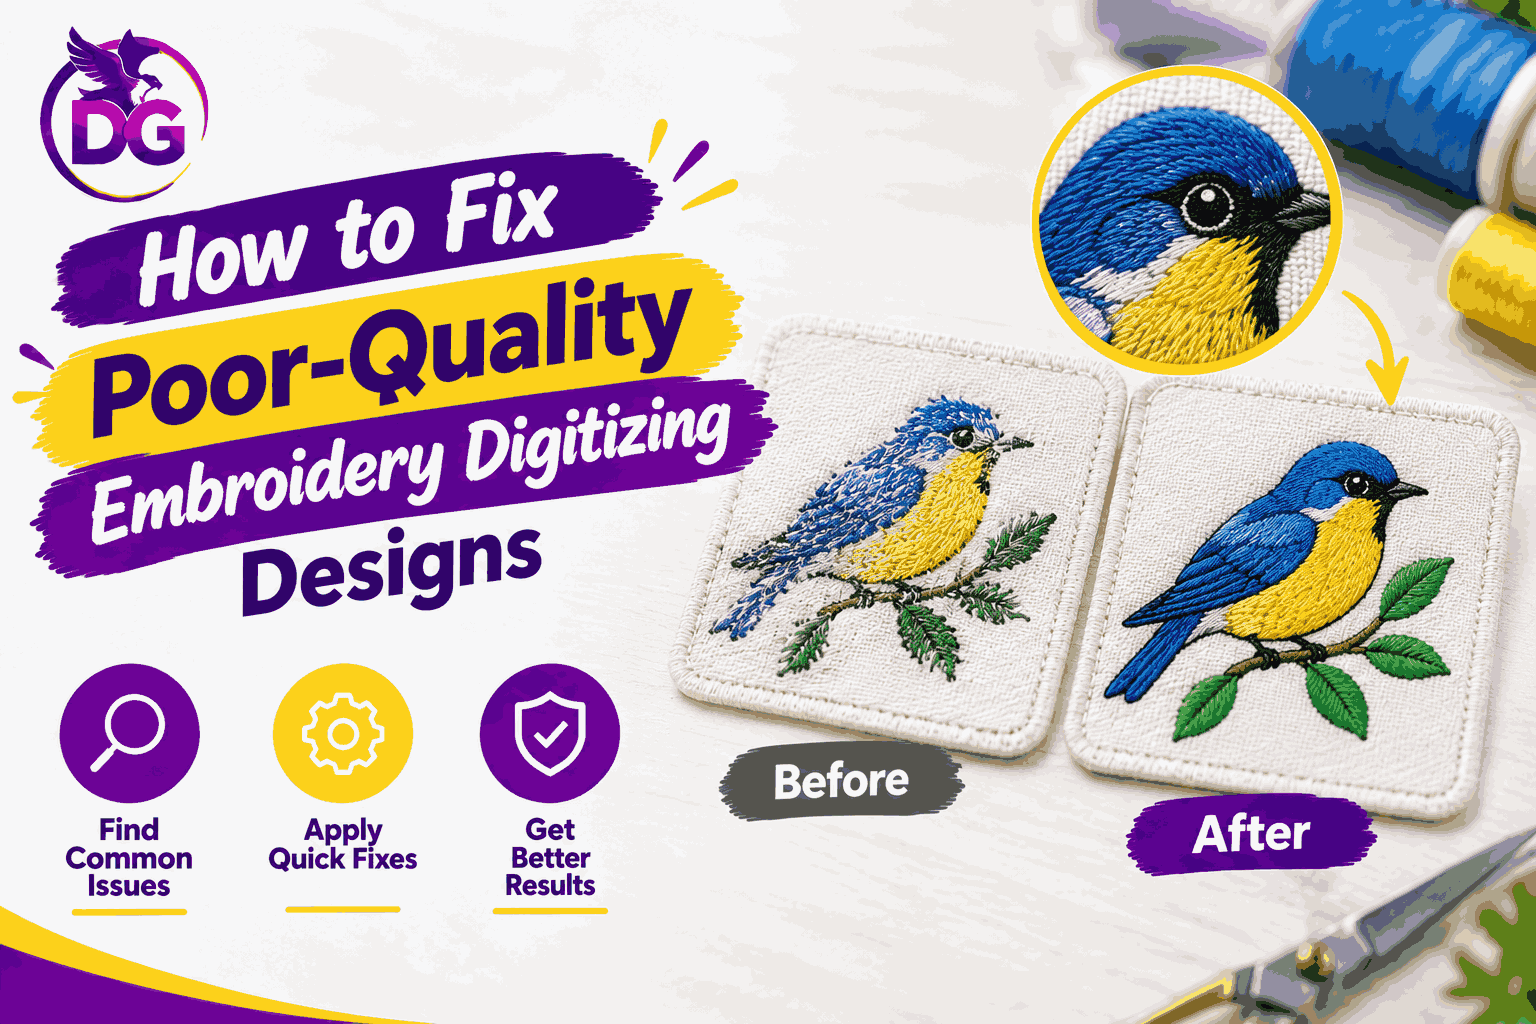
A good embroidery design should look clean, balanced, and easy to read. When an embroidery file is poorly digitized, the final stitching can look very different from the original artwork.
You may notice gaps, uneven stitches, distorted shapes, thread breaks, poor lettering, or excessive thread buildup. These problems can affect the appearance of garments and increase production time.
The good news is that many embroidery problems can be fixed through better digitizing.
The key is to find the actual cause before changing the design. The problem may come from stitch density, underlay, pull compensation, stitch direction, fabric, stabilizer, needle choice, or machine settings.
This guide explains how to identify poor-quality embroidery digitizing and what steps can help improve the final result.
What Does Poor-Quality Embroidery Digitizing Look Like?
Poor embroidery digitizing is often easy to notice after the design is stitched.
Common warning signs include:
- Uneven stitch coverage
- Gaps in filled areas
- Puckered fabric
- Distorted outlines
- Broken lettering
- Incorrect stitch direction
- Excessive thread buildup
- Too many unnecessary stitches
- Frequent thread breaks
- Misaligned design elements
- Poor registration
- Weak or unclear details
A design may look perfect on a computer screen but still produce poor embroidery.
This happens because embroidery is a physical process. Thread, fabric, needles, stabilizers, and machine movement all affect the final result.
Start With the Actual Problem
Before fixing a file, identify what went wrong.
Do not immediately increase stitch density or add more stitches. More stitches do not automatically mean better embroidery.
Instead, inspect the finished sample.
Ask these questions:
- Is the fabric moving?
- Is the design too dense?
- Are the stitches placed correctly?
- Is the underlay suitable?
- Is the lettering too small?
- Is the design too large for the fabric?
- Are the thread and needle suitable?
- Is the machine properly adjusted?
Finding the cause makes the correction much easier.
Problem: Uneven Stitch Coverage
Uneven coverage happens when some areas look full while others show too much fabric.
This can make a logo look weak or unfinished.
Why It Happens
Possible causes include:
- Low stitch density
- Incorrect stitch spacing
- Poor stitch angles
- Fabric movement
- Weak underlay
- Incorrect digitizing sequence
How to Fix It
Review the fill areas and adjust the stitch structure.
The goal is to create consistent coverage without adding unnecessary stitches.
The digitizer should also check whether the stitch direction is helping or hurting the design.
Problem: Too Many Stitches
Adding more stitches is not always the solution.
Excessive stitch density can create heavy embroidery.
It can also cause:
- Fabric puckering
- Stiff designs
- Thread breaks
- Needle stress
- Longer production times
- Excessive thread use
Better Approach
Remove unnecessary stitches and create a more efficient stitch plan.
Use the right density for the fabric and design.
A well-digitized design often achieves good coverage with fewer, better-placed stitches.
Problem: Fabric Puckering
Puckering occurs when the fabric gathers around the embroidered area.
It is one of the most common embroidery quality problems.
Common Causes
Puckering may be related to:
- Excessive stitch density
- Poor stabilization
- Incorrect underlay
- Strong fabric movement
- Poor pull compensation
- Large dense designs on lightweight fabric
Ways to Improve It
Start by checking the stabilizer and fabric.
Then review the digitizing.
Reducing unnecessary density and adjusting the underlay may help.
Pull compensation should also be reviewed when the design is changing shape during stitching.
Problem: Small Text Looks Unclear
Small lettering is difficult to embroider.
A font that looks clear on a computer may become difficult to read when converted into thread.
Why This Happens
Tiny letters have limited space for stitches.
Thin strokes can disappear. Tight spacing can create thread buildup.
How to Fix Small Lettering
Consider:
- Increasing the letter size
- Using a more embroidery-friendly font
- Increasing spacing
- Simplifying the text
- Adjusting stitch direction
- Using suitable satin or running stitches
If the text is not essential, removing very small details can also improve the overall design.
Problem: Thread Breaks Frequently
Frequent thread breaks can interrupt production.
The cause may be related to the embroidery machine or the design itself.
Digitizing-Related Causes
A design may cause thread breaks when it contains:
- Excessive density
- Very short stitches
- Too many overlapping stitches
- Poor stitch sequencing
- Unnecessary jumps
- Excessive thread buildup
How to Improve the Design
Review the stitch path from beginning to end.
Remove unnecessary overlaps and very short stitches where appropriate.
The goal is to create a smoother path for the machine.
Machine tension, needle condition, thread quality, and other production settings should also be checked.
Problem: Distorted Shapes
A circle may look oval. A straight line may appear curved. A logo may lose its original proportions.
This can happen when the fabric moves or when the stitch structure creates too much pull.
The Role of Pull Compensation
Stitches can pull fabric toward the center of a design.
Pull compensation helps the digitizer account for this effect.
If compensation is not suitable, shapes may become smaller or distorted.
A test stitch can help show where adjustments are needed.
Problem: Gaps Between Design Elements
Visible gaps can appear between outlines and filled areas.
They can make the embroidery look incomplete.
Possible Causes
Gaps may result from:
- Fabric movement
- Incorrect pull compensation
- Poor stitch sequencing
- Incorrect overlap
- Insufficient coverage
How to Fix It
The digitizer can review how adjoining sections meet.
Small overlaps may be needed in selected areas.
The design should also be tested on the actual fabric before final production.
Problem: Poor Stitch Direction
Stitch direction affects both appearance and structure.
If every section uses the same angle, the design may look flat or uneven.
Why Direction Matters
Changing stitch direction can help:
- Improve texture
- Define shapes
- Support the fabric
- Create visual contrast
- Improve the appearance of filled areas
A skilled digitizer chooses stitch angles based on the shape and fabric.
Problem: Weak Underlay
Underlay is the foundation beneath the main embroidery.
Without suitable underlay, the top stitches may not sit correctly.
Signs of Poor Underlay
You may notice:
- Weak embroidery
- Poor fabric coverage
- Uneven edges
- Design movement
- Thread sinking into the material
How to Improve It
Choose an underlay structure that matches the fabric and design.
Different materials may need different approaches.
Stretch fabrics, fleece, towels, and stable cotton should not automatically receive the same underlay settings.
Problem: Excessive Underlay
Too little underlay can cause problems, but too much can also be harmful.
Excessive underlay can create:
- Thick embroidery
- Unnecessary stiffness
- Increased stitch count
- More thread usage
- Difficult stitching
The objective is balance.
Underlay should provide support without creating unnecessary bulk.
Problem: Poor Stitch Sequence
The order in which areas are embroidered matters.
A poor sequence can create unnecessary movement and registration problems.
Good Stitch Sequencing Can Help
A well-planned sequence can:
- Reduce unnecessary jumps
- Improve registration
- Reduce thread changes
- Limit fabric movement
- Make production more efficient
The digitizer should plan the design from start to finish rather than treating every section separately.
Problem: Design Is Too Detailed
Some artwork contains details that are too small for embroidery.
Trying to reproduce every tiny feature can create a crowded design.
Simplify When Necessary
Good embroidery is not always an exact copy of digital artwork.
Some details need to be adapted for thread.
Consider simplifying:
- Tiny lines
- Small dots
- Very thin borders
- Complex shadows
- Fine lettering
- Extremely small shapes
The main identity of the design should remain clear.
Check the Fabric Before Changing the File
Sometimes the embroidery file is not the main problem.
The fabric can strongly affect the final result.
A design may work well on a firm polo shirt but behave differently on:
- Stretch fabric
- Fleece
- Towels
- Lightweight cotton
- Denim
- Canvas
- Caps
Before making major changes to the digitizing, check the material and stabilizer.
Use the Correct Stabilizer
Stabilizer helps keep fabric controlled during stitching.
The correct choice depends on the fabric and design.
If the fabric moves too much, the embroidery may shift or become distorted.
A suitable stabilizer can provide the support needed for cleaner stitching.
Review the Design Size
Design size can have a major effect on quality.
A logo that works at six inches may not work at two inches.
When a design is reduced, small details become crowded.
When a design is enlarged, stitch spacing and coverage may need to be adjusted.
Create Separate Sizes When Needed
For professional production, consider separate files for different applications.
For example:
- Small left-chest logo
- Medium garment logo
- Large jacket-back logo
- Cap logo
- Patch design
Each version can be optimized for its intended use.
Test Stitching Is Essential
One of the best ways to fix poor embroidery is to test the design.
A digital preview cannot show every problem.
A test stitch reveals how the design behaves on real fabric.
What to Check During Testing
Look at:
- Lettering
- Edges
- Stitch coverage
- Density
- Fabric tension
- Thread breaks
- Registration
- Underlay
- Overall appearance
Make adjustments based on what you see.
A Simple Quality-Check Process
Use this process when reviewing a problematic design.
Step 1: Inspect the Original Artwork
Make sure the source artwork is clean and clear.
Step 2: Check the Embroidery File
Review stitch density, sequence, direction, and underlay.
Step 3: Check the Fabric
Identify whether the material is stable, stretchy, thick, thin, smooth, or textured.
Step 4: Review Stabilization
Make sure the fabric has suitable support.
Step 5: Run a Test Stitch
Stitch the design on the actual or similar material.
Step 6: Identify the Main Problem
Focus on the most visible issue first.
Step 7: Adjust the Digitizing
Make controlled changes rather than changing everything at once.
Step 8: Test Again
Repeat the process until the design produces consistent results.
When Should You Redigitize a Design?
Sometimes editing the existing file is not enough.
A complete redigitizing may be better when:
- The stitch path is poorly planned
- The design has excessive density
- The file contains many unnecessary stitches
- Small details were never adapted for embroidery
- The design was created for the wrong fabric
- Registration problems are widespread
- The original digitized file is unavailable or unreliable
Starting again can sometimes produce a cleaner result than trying to repair a badly constructed file.
How to Prevent Poor Digitizing in the Future
Prevention is easier than repeated corrections.
Follow these practices:
- Start with high-quality artwork.
- Tell the digitizer the final design size.
- Mention the fabric type.
- Explain where the design will be placed.
- Choose the correct machine format.
- Avoid unnecessary tiny details.
- Request a test stitch.
- Keep the final approved file.
- Use separate files when applications are different.
- Work with an experienced digitizer.
Why Professional Digitizing Makes a Difference
Professional digitizing is about more than converting an image.
A good digitizer understands how thread and fabric interact.
They can make decisions about:
- Stitch types
- Stitch direction
- Density
- Underlay
- Pull compensation
- Stitch sequence
- Design size
- Fabric behavior
These decisions can have a major effect on the final embroidery.
About Digitizings
Digitizings provides professional embroidery digitizing and vector art services for businesses, apparel brands, embroidery shops, and individuals.
The service can prepare logos, artwork, lettering, and other designs for different embroidery applications.
Digitizings offers custom embroidery digitizing, logo digitizing, 3D puff digitizing, cap and hat digitizing, applique digitizing, jacket-back digitizing, monogram digitizing, patch digitizing, photo-to-embroidery digitizing, and other embroidery services.
The focus is on creating practical embroidery files that are prepared for real machine stitching and the intended product.
Conclusion
Poor-quality embroidery can come from many different sources. Stitch density, underlay, pull compensation, stitch direction, sequencing, fabric, stabilizer, and design size can all affect the final result.
The best solution is to identify the actual problem before changing the file.
Do not simply add more stitches. Do not assume the machine is always responsible. Check the entire embroidery process.
Use test stitching to see how the design behaves on real fabric. Make controlled adjustments and test again when necessary.
For difficult designs, professional redigitizing may be the most effective option.
With the right digitizing techniques, suitable stabilization, and proper testing, you can achieve cleaner stitches, better lettering, stronger details, and more consistent embroidery results.
FAQs
1. Why does my embroidery design look poor after stitching?
Poor results can be caused by incorrect stitch density, weak underlay, poor pull compensation, unsuitable design size, fabric movement, stabilization issues, or machine settings. The actual cause should be identified before making changes.
2. How can I fix embroidery puckering?
Check the fabric, stabilizer, stitch density, underlay, and pull compensation. Reducing unnecessary density and improving stabilization may help reduce puckering.
3. Why does small embroidery text look blurry?
Small text has limited space for stitches. Thin letters and tight spacing can become unclear after stitching. Increasing the text size or using an embroidery-friendly font can improve readability.
4. Should I edit a bad embroidery file or redigitize it?
Minor problems can often be corrected. However, if the file has poor stitch sequencing, excessive density, widespread registration problems, or a badly planned stitch structure, redigitizing may be more practical.
5. Does fabric affect embroidery digitizing quality?
Yes. Different fabrics react differently to stitches. Stretch, thickness, texture, and stability can affect density, underlay, pull compensation, and other digitizing settings. A design should be prepared for its intended fabric.


 Search in Classifieds
 Search in Groups
 Search in Polls
 Search in Members
 Search in Members
 Search in News
 Search in Businesses
 Search in Contests
 Search in Events
 Search in Music Albums
 Search in Music Songs
 Search in Quotes
 Search in Site Team



Share this page with your family and friends.